5 Street photography tips that works
In today’s blog post, we’ll explore a 5 street photography tips that I personally use and that can help you capture more impactful and visually engaging photos. So, without further delay, let’s dive in.

Always be ready!
My first tip for not missing a shot is to always stay alert and ready. When I go out to shoot, I try to focus entirely on my surroundings. I don’t wear headphones — instead, I listen to the sounds of the city, observe people and things around me, and soak in the atmosphere. Just as I’m mentally prepared to take a photo, my camera needs to be in the same state of readiness.

I keep my camera turned on at all times, the lens cap off, and the camera in my hand — never around my neck. Often, a moment lasts just a few seconds. Imagine spotting the perfect scene, but instead of capturing it, you’re busy turning on your camera, removing the lens cap, and fumbling with the strap around your neck. That could easily take seconds — and by then, the moment is gone.

So, my first tip: always be ready. Both you and your camera.


Use Exposure Compensation
This technique once quite literally changed my life. When I first started watching photography tutorials, the number one rule always seemed to be keeping a perfectly balanced histogram — but that rule doesn’t necessarily apply to street photography.

Exposure compensation allows you to work creatively with light and shadow, helping your photos stand out. I often seek out high-contrast scenes and intentionally underexpose the entire frame — usually by around -1.3 to -1.7 stops, depending on what I want to emphasize in the image.

Next time you’re out shooting, try finding a high-contrast scene and deliberately underexposing your shot. If your camera allows you to adjust light metering, choose the mode that prioritizes highlights. If it doesn’t, simply use exposure compensation as mentioned above.

The key is to experiment and test until you find the settings that work best for you.


Shutter Speed
Think of shutter speed as a tool that lets you creatively control the motion and energy of your subject in a photo. As a standard setting, I use a shutter speed of 1/250 — it’s my default for most situations, and it works well for about 99% of subjects. If you're shooting something faster, like a passing train, you might want to bump it up to 1/500 to keep the subject sharp.

Great, now you know how to freeze motion — but at the beginning I mentioned creativity, right? And there’s not much creativity in those settings. True creative use of shutter speed starts around 1/30 and slower. I often use three specific shutter speeds for different effects.

First, 1/30 for panning a moving subject. Then, 1/15 when I want to keep my main subject sharp while something like a subway train passes behind it, creating a dynamic, motion-blurred background. Lastly, I sometimes use 0.4 seconds — this one is all about experimenting. Not every shot will come out the way you imagine, but it’s a fun process, and I especially enjoy using it at night with illuminated subjects.

.


Simplicity
One of the things that helped me improve my photography is simplicity. People often try to include as much as possible in a single frame—architectural details, people, trees, cars, and the entire scene. But this often results in a cluttered image with no clear subject or focal point.

My advice is straightforward: practice isolating a single subject. Do your best to direct the viewer’s attention to just one element. Using a longer focal length can help with this, as it allows you to narrow your frame and define your subject even before you press the shutter.

Another technique I regularly use—and one that’s often underestimated—is cropping in post-production. Don’t hesitate to crop your image to better isolate your subject during editing. As a photographer, it’s your responsibility to guide the viewer’s eye: to show them what matters and eliminate what doesn’t. Use every tool at your disposal to do that.


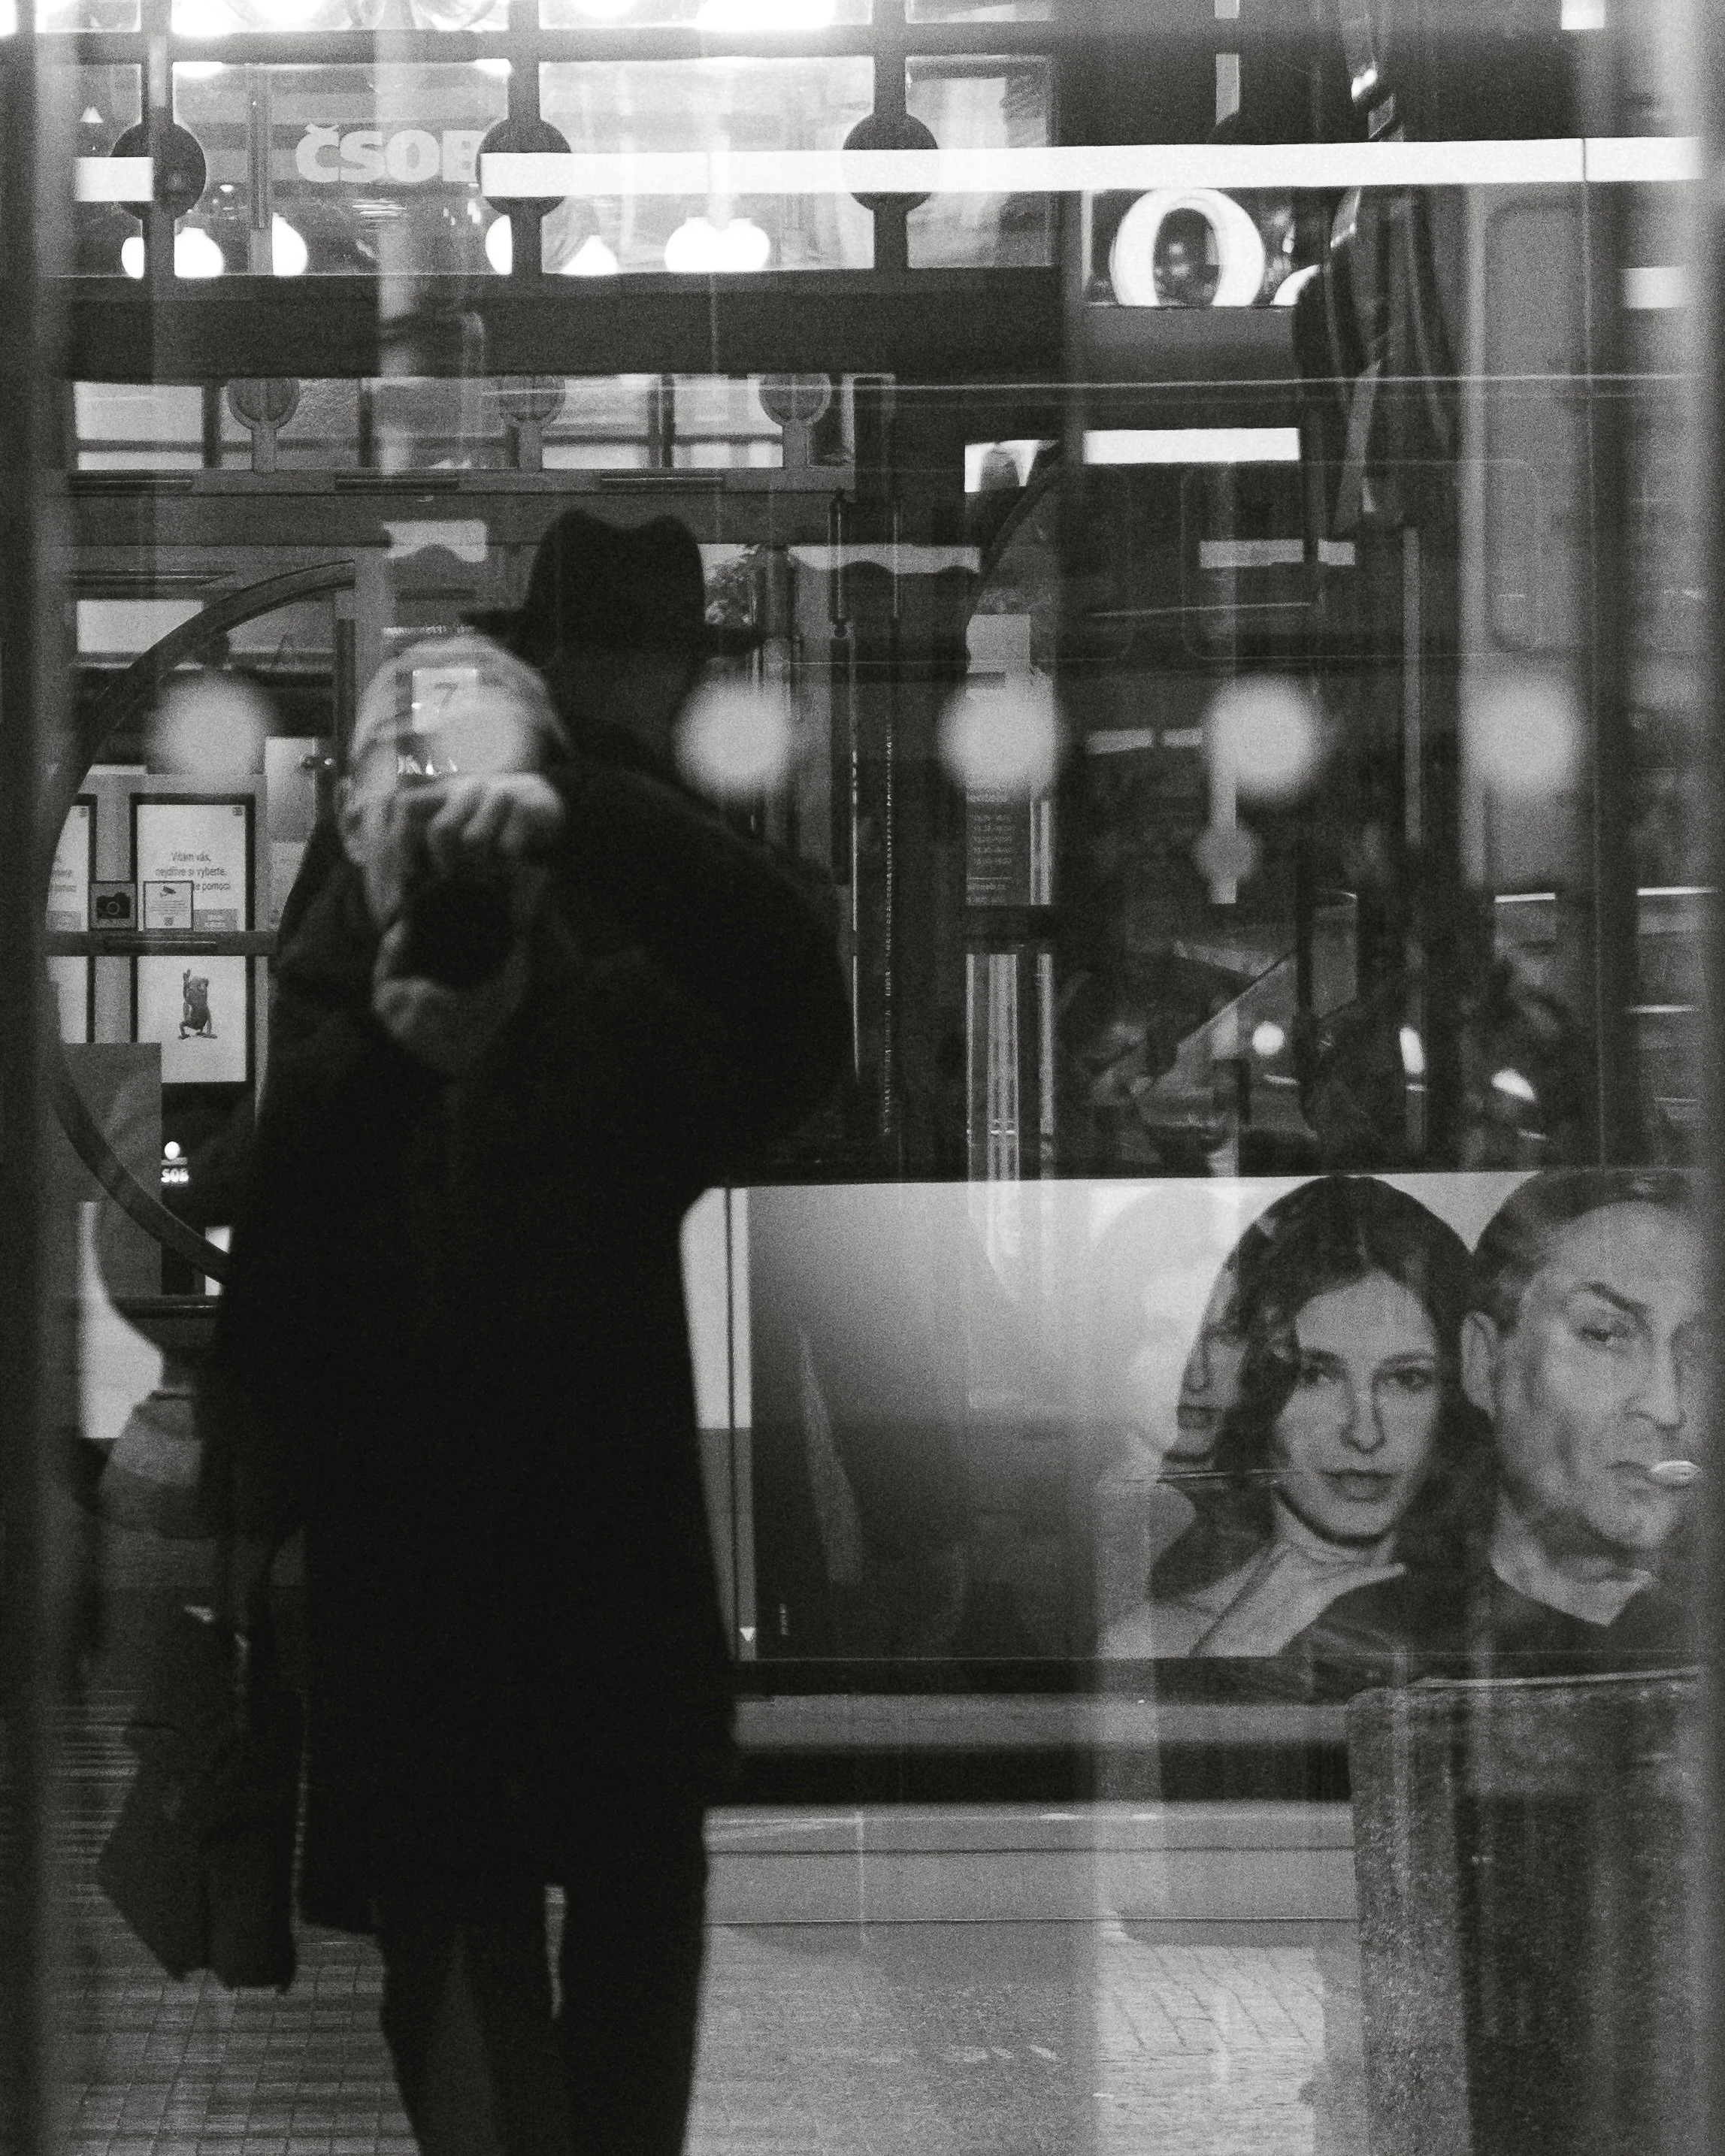
Abstract
This way of thinking about photography will forever change how you approach shooting places and allow you to capture locations differently every time. Your goal here should be clear: don’t take the same generic photos that 99% of other photographers do. Standing in one spot and snapping the same shot as everyone else is something even a small child with a phone can do — there's nothing interesting about that.

Next time, try looking around and incorporating elements like glass and reflections. Shooting through glass or using reflections and other elements — combined with silhouettes, colors, or slow shutter speed techniques — will open up a whole new dimension in how you see your city and your photos. You’ll also encourage your viewers to look more closely and think about what they’re actually seeing in your images.

Instead of taking generic photos of the same places, you’ll start creating images that set you apart from the rest. And this kind of photography is also a lot more fun.